
This is the coolest thing!
It all started with a 4H pig we bought two years ago. When our grass-fed half cow was ready to pick up from the butcher I realized I really needed to make some room in the sub-zero freezer which meant I needed to clear out two sides of pork and two pork shanks. I had been reading in my Charcuterie book for some time about preserving meats and knew I wanted to turn those sides into bacon but it seemed a bit overwhelming and I was having a difficult time figuring out the brine much less coming up with a smoker. I read this post on Life Through The Cracks and kind of drooled over it for a bit. Her smoker is fabulous! And her brine so simple. After a short stint of looking to buy a used smoker I came across a video by Alton Brown showing how to make a hot smoker using materials I already had! All I had to buy was a $10 hot plate! SOLD! I also discovered that Alton Brown is very well known? I had never heard of him.
Setting it up is all very basic. The finished product looks like this:
It all started with a 4H pig we bought two years ago. When our grass-fed half cow was ready to pick up from the butcher I realized I really needed to make some room in the sub-zero freezer which meant I needed to clear out two sides of pork and two pork shanks. I had been reading in my Charcuterie book for some time about preserving meats and knew I wanted to turn those sides into bacon but it seemed a bit overwhelming and I was having a difficult time figuring out the brine much less coming up with a smoker. I read this post on Life Through The Cracks and kind of drooled over it for a bit. Her smoker is fabulous! And her brine so simple. After a short stint of looking to buy a used smoker I came across a video by Alton Brown showing how to make a hot smoker using materials I already had! All I had to buy was a $10 hot plate! SOLD! I also discovered that Alton Brown is very well known? I had never heard of him.
Setting it up is all very basic. The finished product looks like this:
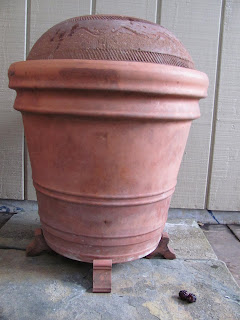 I started with a big terracotta pot and put it up on some feet I stole off of one of my planted pots. Then I ran the cord of the hot plate through the hole in the bottom and turned it on to high heat.
 Then place a heavy pan directly on the element, fill with chips and a bit of water...
 Place the grill, which sits right in the pot without any other support...
 This pic is from the first smoking I did, see how clean the scrubbed pot is? This was the first smoke I ever saw coming from my new smoker! Very exciting stuff. Ahhh the little things...
 This is a cut called side of pork from which bacon is made. Before smoking it was brined for 7 days in saltwater and then rinsed and marinated for another day and a half with maple syrup and blackstrap molasses.
 After placing the terracotta pot dome lid on top, the thermometer goes in the drain hole and the whole bit of magic starts.
 After about 15 hours this is the color of the bacon:
 I deemed it done and let it set back up in the fridge to make for easy slicing. The bacon is AMAZING. Amazing I tell you! I will never buy bacon again for I am HOOKED ON HOME SMOKE! Flavor it as you desire, it's fun to play with different flavors and make small batches.
 I also brined and smoked the ham shanks (also known as hocks). One is simmering away in a pot of beans for dinner as I type.
 On the Fourth I smoked a few Niman Ranch pork loins (which I brined overnight first) for about 4 hours and then finished them on the grill. They were (you already know what I'm going to say) AMAZING!
Just thought I'd share this new found love of mine. Everyone I have shown it to declares they are setting up their own as well! It's just so dang easy.


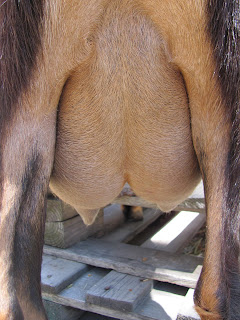 Yesterday I headed out to
  We also had an opportunity to learn how to milk a goat. Of course I had to try it! I've always wanted to try and next spring I'm hoping to get a few goats. It was easy! The bucket of
  I was able to drink some fresh, raw milk moments after milking. It was delicious!
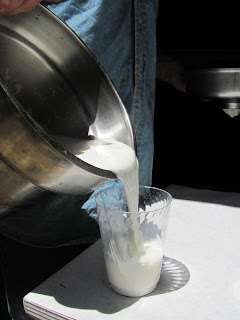 Then we watched as Julie made ricotta and a classic


 The day was topped off with goat milk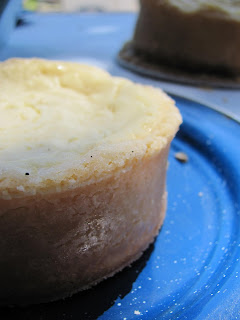


 Even the remote thought of tomato harvest time sent me searching around hoping to find a little baby tomato. Nope, none here yet. There are lots of flowers popping up though! I wish I could say what type of tomato plant these pretty little

 Look how cute this Sweet


